A Step-by-Step Guide to Setting Up Claude BugHunter: Complete Your First Authorised Vulnerability Test from Scratch手把手教你装好 Claude BugHunter:从零跑通第一次授权漏洞测试
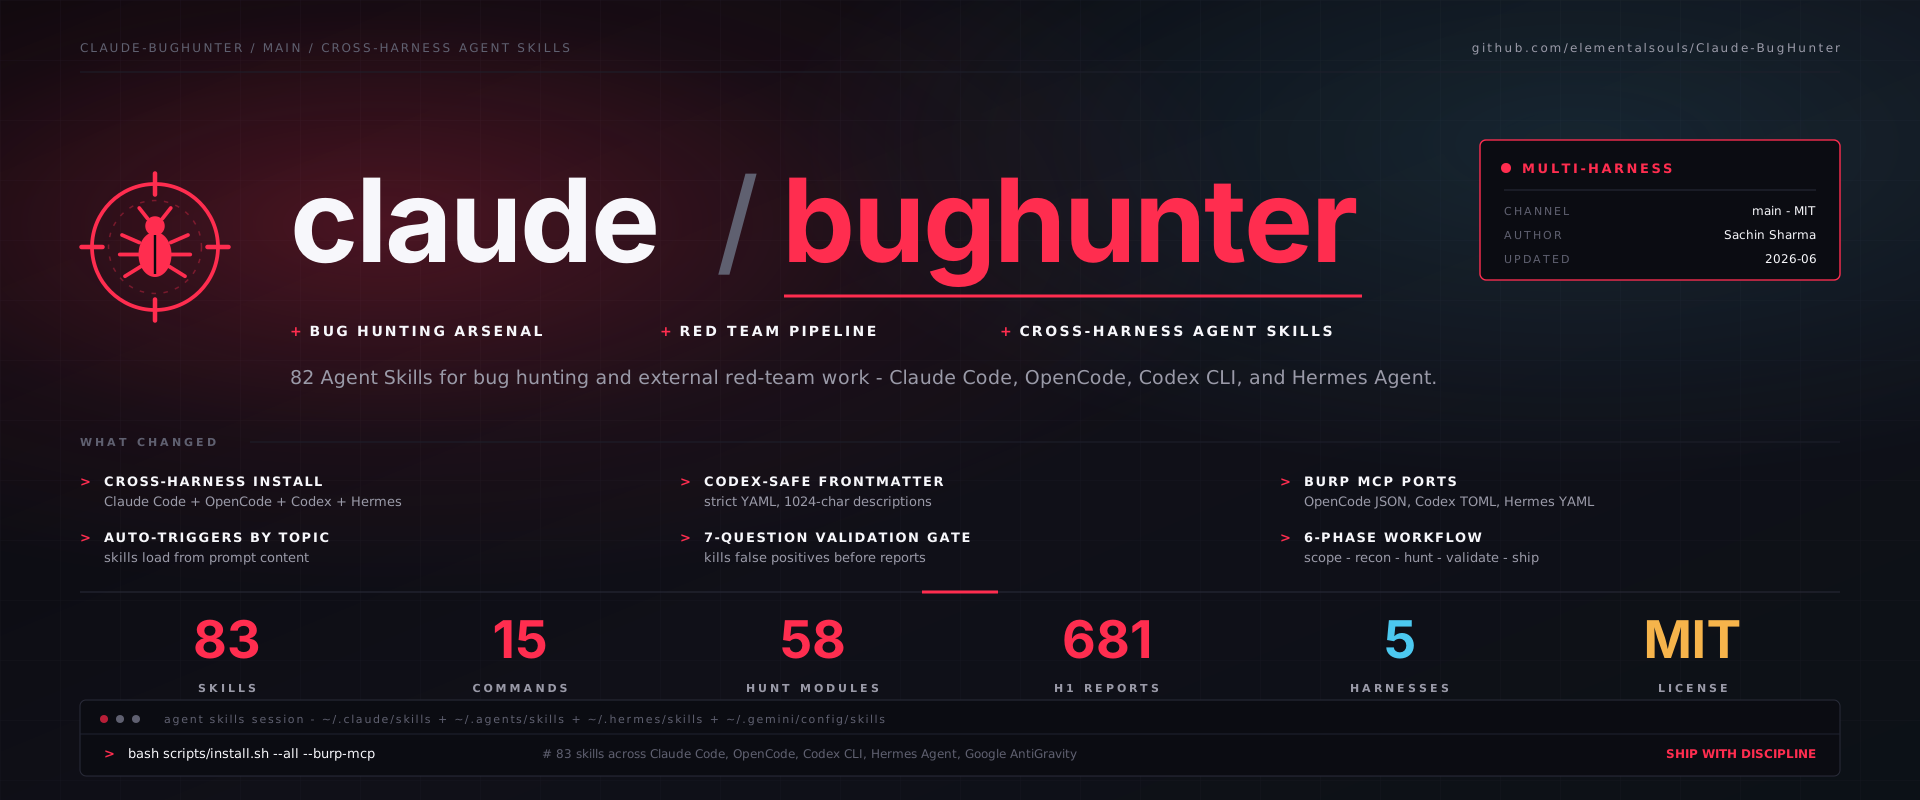
In our previous article, we introduced the Claude BugHunter skill pack, which has risen to the top of GitHub Trending today. In this article, we will take you through the entire process, from downloading and installing the pack to conducting real-world practice on a live range: Equip yourself with 83 vulnerability hunting skills and complete your first authorised penetration test on DVWA and OWASP Juice Shop.
上一篇我们介绍了今天冲上 GitHub Trending 第一的 Claude BugHunter 技能包,这篇带你从下载、安装到真实靶场实战完整走一遍:装好 83 个漏洞猎杀技能,在 DVWA 和 OWASP Juice Shop 上完成你的第一次授权渗透测试。
Step 1: Prepare the Environment and Download the Skill Pack第 1 步:准备环境并下载技能包
First, prepare two things: a Claude Code that is logged in and ready to use (other CLIs that support Agent Skills, such as Codex and OpenCode, will also work), and a legitimate practice environment. We recommend running OWASP Juice Shop (with the command "docker run") or DVWA on your local Docker. This way, you're working entirely on your own machine, with zero legal risk.
Click the button above to download claude-bughunter-2.1.zip and extract it to any directory, such as C:\tools\claude-bughunter. After extraction, you will see skills/ (83 skills), commands/ (15 slash commands), and scripts/ installation scripts.
Reminder: The entire toolkit may only be used for authorised targets. All the demonstrations in this article were carried out in the local test environment.
先备齐两样东西:一个已登录可用的 Claude Code(其他支持 Agent Skills 的 CLI 如 Codex、OpenCode 也行),以及一个合法的练习靶场——推荐本机 Docker 跑 OWASP Juice Shop(docker run 一条命令)或 DVWA,全程打自己机器,零法律风险。
点上方按钮下载 claude-bughunter-2.1.zip,解压到任意目录,比如 C:\tools\claude-bughunter。解压后能看到 skills/(83 个技能)、commands/(15 个斜杠命令)和 scripts/ 安装脚本。
提醒:整套工具只可用于授权目标。本文全部演示都在本机靶场里完成。
Step 2: Install the Skill Pack第 2 步:安装技能包
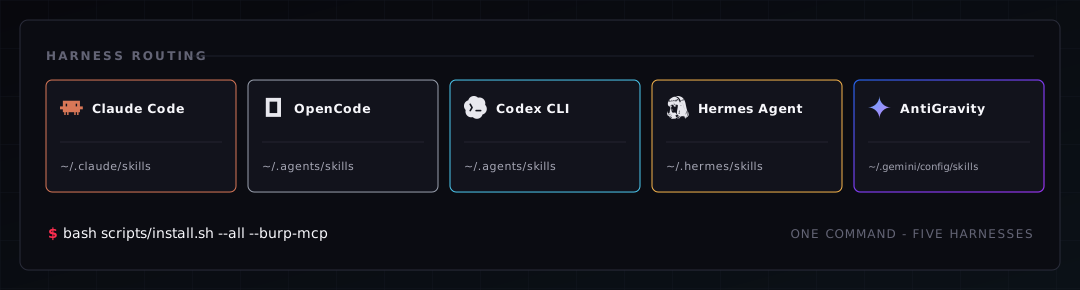
Method A (Plugin installation, recommended): Directly execute /plugin install claude-bughunter@elementalsouls in the Claude Code session. The skill is loaded with the prefix claude-bughunter:. Subsequent upgrades can be done with a single command, and your ~/.claude/ directory remains unaffected.
Method B (copy installation, used when there is no plug-in system): On Windows, go to the extracted directory in PowerShell and run pwsh ./scripts/install.ps1; on macOS/Linux, run bash scripts/install.sh. The script will copy the skill into the user's skills directory and connect the hunt scaffolding command.
If you are prompted to enter HackerOne API credentials during installation, simply leave the field blank and press Enter – this will not affect the use of any local skills. After installation, open a new Claude Code session (the skill needs to be reloaded to take effect).
方式 A(插件安装,推荐):在 Claude Code 会话里直接执行 /plugin install claude-bughunter@elementalsouls,技能以 claude-bughunter: 前缀加载,后续升级一条命令搞定,不污染你的 ~/.claude/ 目录。
方式 B(复制安装,无插件系统时用):Windows 在 PowerShell 里进入解压目录执行 pwsh ./scripts/install.ps1;macOS/Linux 执行 bash scripts/install.sh。脚本会把技能拷入用户技能目录并接好 hunt 脚手架命令。
安装时若提示填 HackerOne API 凭据,直接留空回车即可——不影响任何本地技能的使用。装完新开一个 Claude Code 会话(技能需要重新加载才生效)。
Step 3: Conduct the first reconnaissance on the test site第 3 步:在靶场上跑第一次侦察
Run Juice Shop using Docker (default http://localhost:3000), then describe the task in plain language in Claude Code: "Help me perform an authorised web vulnerability scan on http://localhost:3000 using BugHunter, starting with reconnaissance and fingerprinting."
You will see it automatically load skills such as web2-recon, offensive-osint, bb-methodology, etc.: first, it identifies the tech stack and endpoint list, then generates a testing plan for each of the 24 vulnerability categories, providing a disclosure report template for each step – this is a level of depth that ordinary prompts cannot provide.
The reconnaissance output will be placed in the engagement directory generated by the hunt framework (targets, findings, and evidence subfolders). Subsequent rounds of testing will be stored in this directory, facilitating post-mortems and report generation.
用 Docker 把 Juice Shop 跑起来(默认 http://localhost:3000),然后在 Claude Code 里用大白话描述任务:「帮我用 BugHunter 对 http://localhost:3000 做一次授权的 web 漏洞侦察,先从侦察和指纹识别开始」。
你会看到它自动加载 web2-recon、offensive-osint、bb-methodology 等技能:先摸清技术栈与端点清单,再按 24 类漏洞逐项生成检测计划,每一步都给出依据的披露报告模式——这是普通提示词给不出的深度。
侦察产出会落在 hunt 脚手架生成的 engagement 目录里(targets、findings、evidence 分文件夹),后续每轮测试都往这个目录里沉淀,方便复盘和出报告。
Step 4: Validate findings and produce report第 4 步:验证发现并产出报告
For suspected vulnerabilities discovered during reconnaissance (such as SQL injection points), allow it to continue loading the corresponding hunt-* skill for verification. The skill comes with payload variants and a bypass reference table, and it will verify the existence of the vulnerability according to the "least intrusive" principle, rather than performing mindless brute-force attacks.
Once the vulnerability has been identified, have it classified according to VRT standards and generate a report in disclosure format, following the style of the 681 disclosure reports. The report should include four key elements: vulnerability description, steps to reproduce, impact rating, and remediation recommendations.
Finally, pass the fix suggestions to your development process to be implemented, and then run another round of regression testing. Once this closed loop of "discovery → reporting → fixing → regression" is running smoothly, you will have an automated vulnerability hunter at the team level.
对侦察发现的疑似漏洞(比如 SQL 注入点),让它继续加载对应的 hunt-* 技能做验证:技能里自带 payload 变体和绕过对照表,它会按「最小侵入」原则验证漏洞存在性,而不是无脑爆破。
确认漏洞后,让它按 VRT 标准分类,并参考 681 份披露报告的写法生成一份披露格式的报告:漏洞描述、复现步骤、影响评级、修复建议四件套齐全。
最后把修复建议交给你的开发流程修掉,再跑一轮回归验证——这套「发现 → 报告 → 修复 → 回归」的闭环跑顺了,你就拥有了团队级的自动化漏洞猎手。
Problem Encountered遇到问题
Skill not working: Confirm that a new session has been opened after installation. For the plugin method, use the /plugin list to confirm the loading status. Docker range cannot be started: Check whether there is a conflict in port mapping. MCP (Burp) cannot connect: First confirm that the MCP extension port configuration of Burp Suite is correct, then try again. Once again, I would like to emphasise that all tests are limited to authorised targets. The skill pack accompanying this article can be found via the download button above.
技能没生效:确认安装后新开了会话,插件方式用 /plugin 列表确认加载状态;Docker 靶场起不来:检查端口映射是否冲突;MCP(Burp)连不上:先确认 Burp Suite 的 MCP 扩展端口配置正确再重试。再强调一次:所有测试仅限授权目标。本文配套技能包见上方下载按钮。
⬇ Download · 点击下载:Claude BugHunter v2.1 完整技能包(本教程配套)
教程全程使用本包 · 含 install.ps1 / install.sh 安装脚本
阅读与点赞数据保存在你的浏览器本地,欢迎留下你的想法。
 今日正能量学一点,用一点;今天种下的种子,会长成明天的能力。去免费下载专区 →广告
评论 文明发言,让讨论更有价值